Query a PostgreSQL® database using GraphQL
GraphQL is a great technology for working with complex data models. Learn how to query an Aiven for PostgreSQL® database with GraphQL using Hasura
A dataset in a database is only useful if it can be queried by companies' applications. GraphQL exposes the data via APIs by adding a layer on top of the database. This allows you to both control who has access to resources and abstract the physical storage of information from how the data is queried and manipulated.
This tutorial shows how to add GraphQL APIs on top of a PostgreSQL database using Hasura cloud
Create and Populate a PostgreSQL® database
The first step to expose the data via GraphQL is to create a PostgreSQL database and upload some data. To do this:
-
Sign up for an Aiven account and access the Aiven console.
-
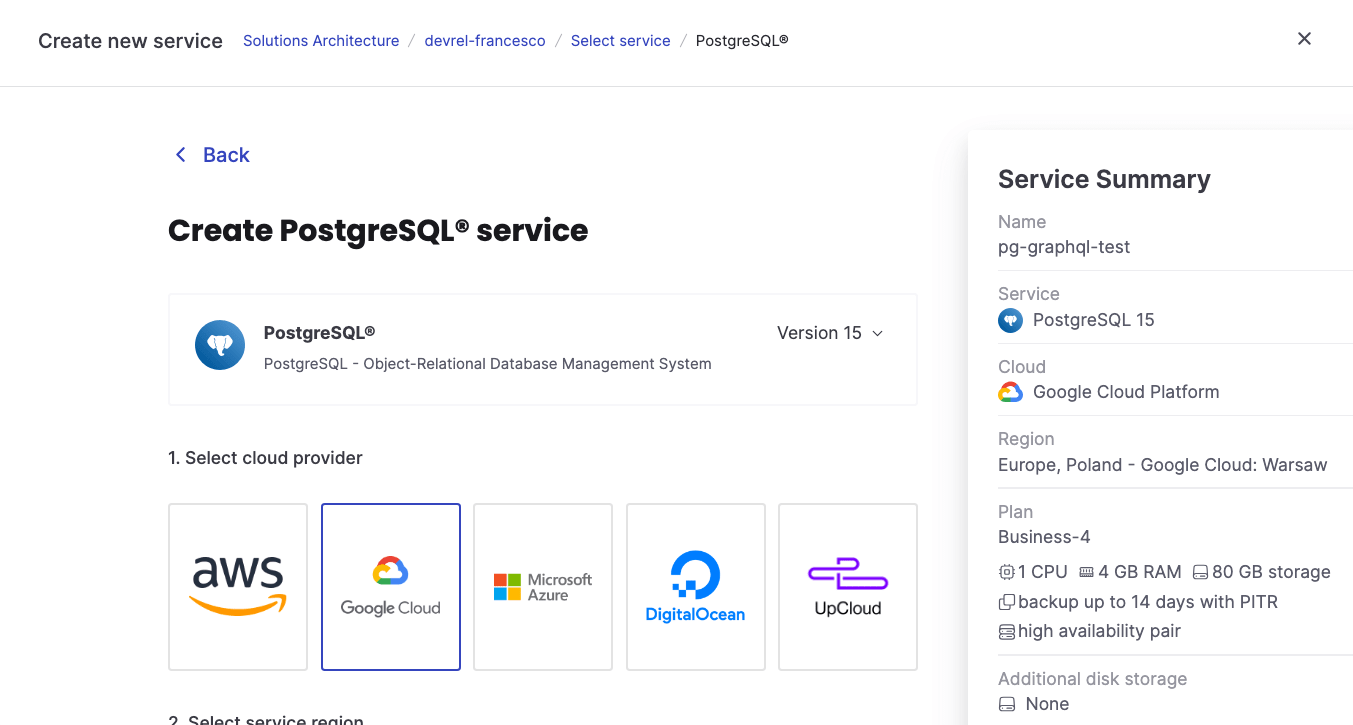
Create an Aiven for PostgreSQL® service and specify:
- The PostgreSQL version
- The cloud provider and region
- The service plan, defining the size of the service. We can use the free tier for the purpose of this tutorial
- The additional storage disk size
- The service name
-
Wait a couple of minutes for the Aiven for PostgreSQL service to be up and running
-
Include the Pagila dataset by following the related documentation
When done, if we connect to the PostgreSQL database with psql, we should be able to navigate to the pagila database with:
\c pagila
Check that we have tables in the database using the \dt command, with a result similar to the below:
                    List of relations
 Schema |       Name       |       Type        |  Owner
--------+------------------+-------------------+----------
 public | actor            | table             | avnadmin
 public | address          | table             | avnadmin
 public | category         | table             | avnadmin
 public | city             | table             | avnadmin
 public | country          | table             | avnadmin
 public | customer         | table             | avnadmin
 public | film             | table             | avnadmin
 public | film_actor       | table             | avnadmin
 public | film_category    | table             | avnadmin
 public | inventory        | table             | avnadmin
 public | language         | table             | avnadmin
 public | payment          | partitioned table | avnadmin
 public | payment_p2020_01 | table             | avnadmin
 public | payment_p2020_02 | table             | avnadmin
 public | payment_p2020_03 | table             | avnadmin
 public | payment_p2020_04 | table             | avnadmin
 public | payment_p2020_05 | table             | avnadmin
 public | payment_p2020_06 | table             | avnadmin
 public | rental           | table             | avnadmin
 public | staff            | table             | avnadmin
 public | store            | table             | avnadmin
(21 rows)
And if we query the actor table with select * from actor limit 10; we should see the the following 10 rows:
 actor_id | first_name |  last_name   |      last_update
----------+------------+--------------+------------------------
        1 | PENELOPE   | GUINESS      | 2020-02-15 09:34:33+00
        2 | NICK       | WAHLBERG     | 2020-02-15 09:34:33+00
        3 | ED         | CHASE        | 2020-02-15 09:34:33+00
        4 | JENNIFER   | DAVIS        | 2020-02-15 09:34:33+00
        5 | JOHNNY     | LOLLOBRIGIDA | 2020-02-15 09:34:33+00
        6 | BETTE      | NICHOLSON    | 2020-02-15 09:34:33+00
        7 | GRACE      | MOSTEL       | 2020-02-15 09:34:33+00
        8 | MATTHEW    | JOHANSSON    | 2020-02-15 09:34:33+00
        9 | JOE        | SWANK        | 2020-02-15 09:34:33+00
       10 | CHRISTIAN  | GABLE        | 2020-02-15 09:34:33+00
(10 rows)
Create a Hasura Project
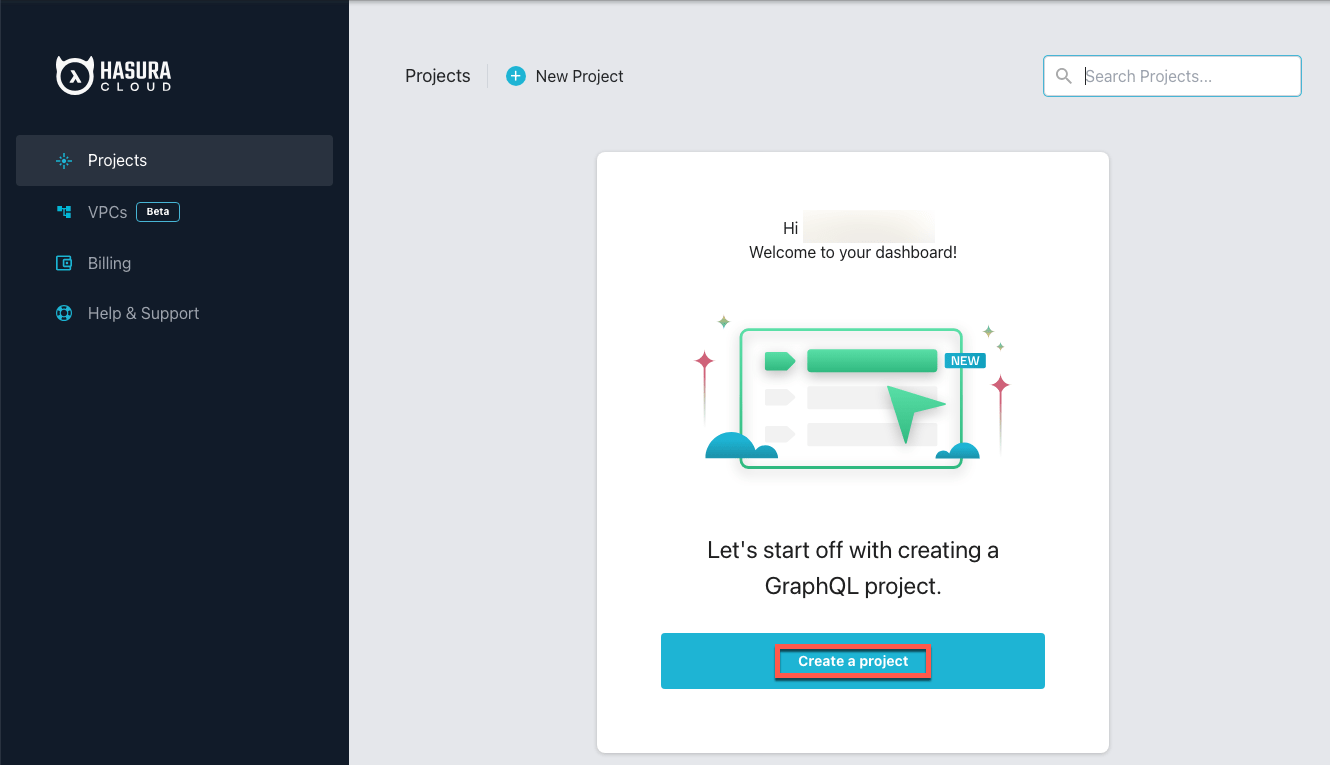
The next step is to visit https://cloud.hasura.io/ and create an account if you haven't done so. Once your Hasura account is ready, proceed to create a new project, utilizing the free tier for the purpose of this tutorial.
Note: Consider selecting a region for your Hasura project deployment that is near the region where the Aiven for PostgreSQL service is running to minimize latency.
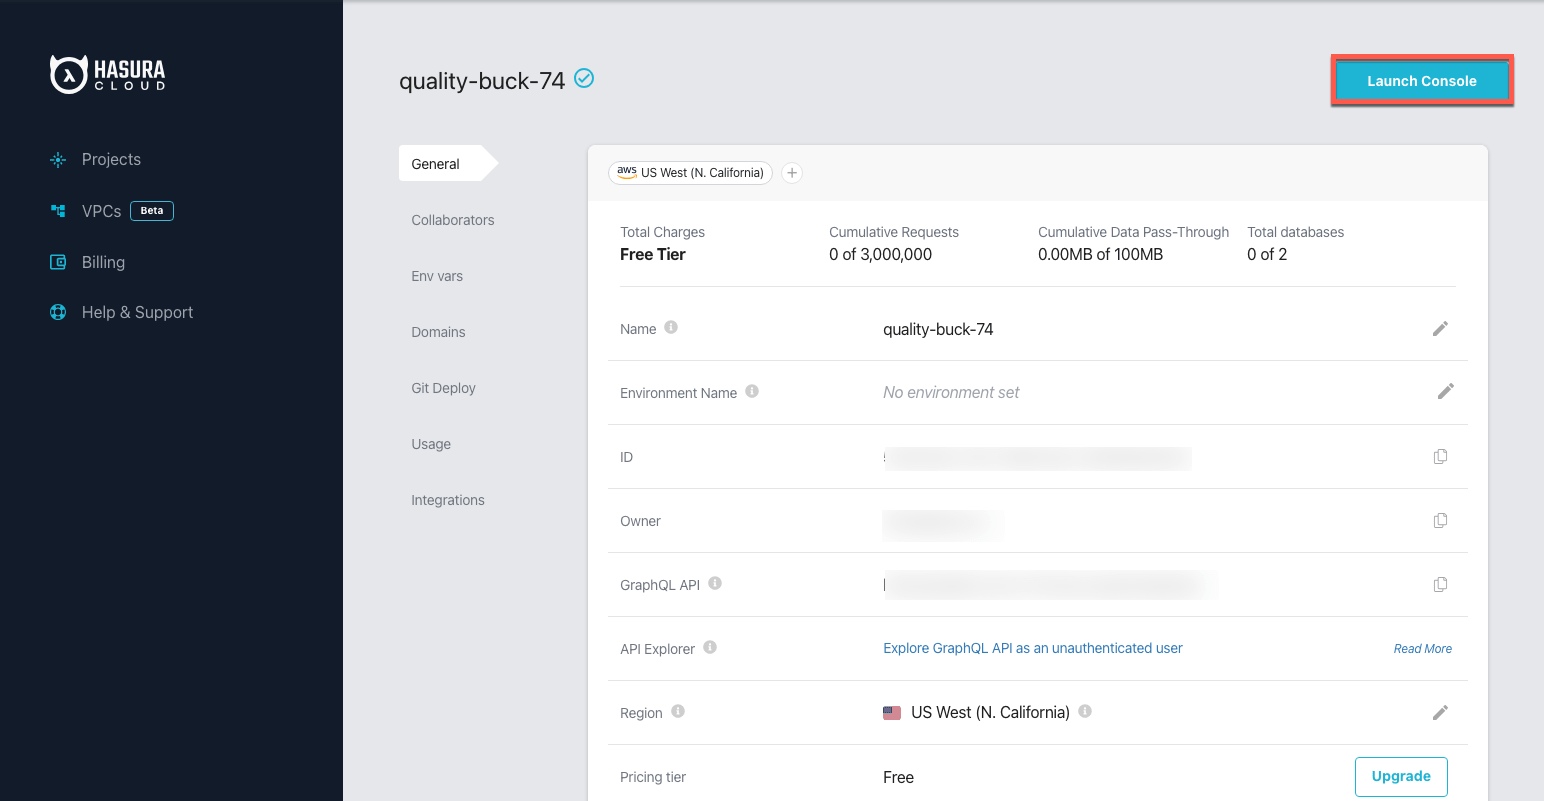
Now, review the details of the Hasura project and click on Launch Console.
Connect the Hasura project to Aiven for PostgreSQL
To connect the Hasura project and Aiven for PostgreSQL, navigate to the Data tab in the Hasura console. Choose PostgreSQL and select Connect Existing Database. Provide a name for the database and copy the URL from the Aiven Console, specifically from the service Overview page, into the Database URL connection parameter.
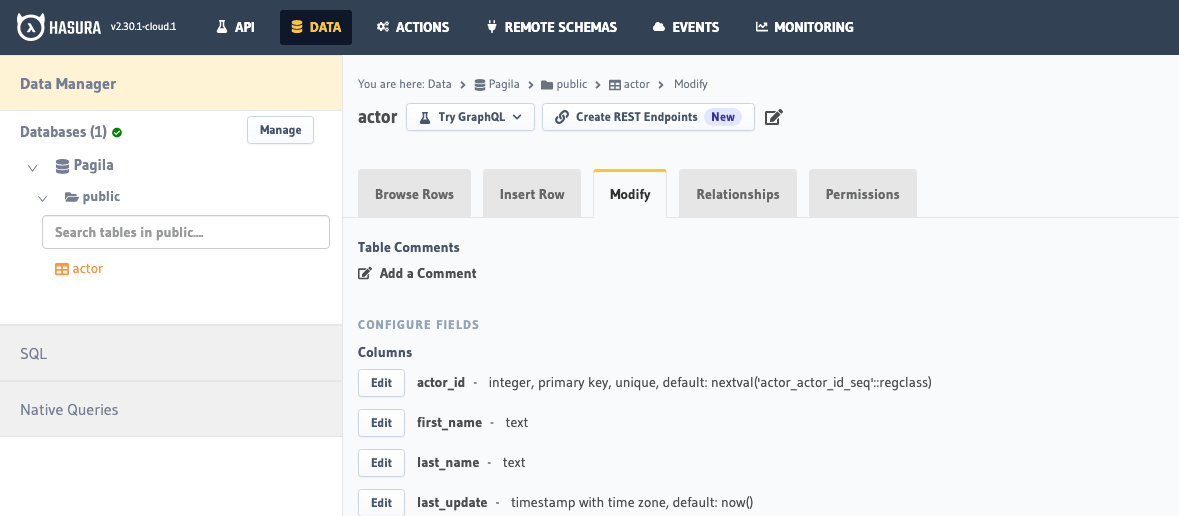
In the above URI, replace the database name defaultdb with pagila, and then click on Connect Database. Your connection should be visible with the chosen database name (Pagila in the screenshot below).
Track a PostgreSQL table in Hasura
The next step is to track a PostgreSQL database table in Hasura. To do this, navigate to the Database section, click on the public schema, and then select Track next to the actor table.
Review the tracking details and make changes in the following screen.
Create GraphQL queries
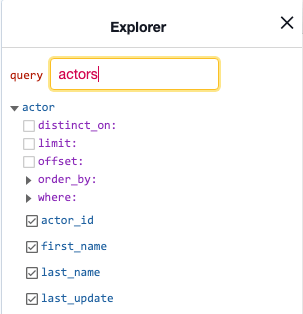
The last step is to create GraphQL APIs on for our data. Go to the API tab in Hasura and look at the Explorer section. It should show the actor table.
Get all actors
The first query to implement lets us to select all the actors. We can perform that by writing, in the main GraphQL section, the query:
query actors {
  actor {
    actor_id
    first_name
    last_name
    last_update
  }
}
Next, click on Run. We should see the actor data appearing in the data preview section:
{
  "data": {
    "actor": [
      {
        "actor_id": 1,
        "first_name": "PENELOPE",
        "last_name": "GUINESS",
        "last_update": "2020-02-15T09:34:33+00:00"
      },
      {
        "actor_id": 2,
        "first_name": "NICK",
        "last_name": "WAHLBERG",
        "last_update": "2020-02-15T09:34:33+00:00"
      },
      {
        "actor_id": 3,
        "first_name": "ED",
        "last_name": "CHASE",
        "last_update": "2020-02-15T09:34:33+00:00"
      },
      ...
    ]
  }
}
The above fetches all the rows in the actor table, then retrieves and exposes the actor_id, first_name, last_name and last_update columns.
Filter a single actor
The next GraphQL query lets us filter the results of a single actor. In the main query editor, write the following:
query actors ($actor_name: String!){
  actor (where: { first_name: { _eq: $actor_name } }) {
    actor_id
    first_name
    last_name
  }
}
In the Query variables section, add the value for the actor name filter:
{
  "actor_name":"CHRISTIAN"
}
When running the query we should see a result like the following, listing only the actors named CHRISTIAN:
{
  "data": {
    "actor": [
      {
        "actor_id": 10,
        "first_name": "CHRISTIAN",
        "last_name": "GABLE"
      },
      {
        "actor_id": 58,
        "first_name": "CHRISTIAN",
        "last_name": "AKROYD"
      },
      {
        "actor_id": 61,
        "first_name": "CHRISTIAN",
        "last_name": "NEESON"
      }
    ]
  }
}
If we want to run these queries from our local terminal, we can use the following command, replacing the following two parameters:
- the
<HASURA_TOKEN>with the x-hasura-admin-secret - the
<HASURA_ENDPOINT>with the GraphQL endpoint
curl --header "Content-Type: application/json" \
  --header "<HASURA_TOKEN>"\
  --request POST \
  --data '
    {"query":"query actors ($actor_name: String!){actor (where: { first_name: { _eq: $actor_name } }) { actor_id first_name last_name}}",
    "variables":{"actor_name": "CHRISTIAN"}
    }' \
  <HASURA_ENDPOINT>
Running this in a terminal returns data about the same three actors:
{"data":{"actor":[{"actor_id":10,"first_name":"CHRISTIAN","last_name":"GABLE"}, {"actor_id":58,"first_name":"CHRISTIAN","last_name":"AKROYD"}, {"actor_id":61,"first_name":"CHRISTIAN","last_name":"NEESON"}]}}
Insert a new actor
In our final query, we'll insert a new actor in the actor table. To do so we can use the following:
mutation insert_single_actor($object: actor_insert_input!) {
  insert_actor_one(object: $object){
    first_name
    last_name
  }
}
With the following variables:
{
  "object":{
    "first_name":"JANE",
  	"last_name":"WHITE"
  }
}
Once executed, we can check that a new row has been added to the actor table in PostgreSQL using psql:
select * from actor where last_name='WHITE';
The result is the new entry we just added using GraphQL:
 actor_id | first_name | last_name |          last_update
----------+------------+-----------+-------------------------------
      201 | JANE       | WHITE     | 2023-08-02 13:48:02.081734+00
(1 row)
Conclusion
GraphQL APIs are increasingly used to retrieve or manipulate data in databases. This tutorial demonstrates how you can add these APIs with Hasura on top of a PostgreSQL database managed by Aiven. If you want to learn more:
