Synthetic Data for AI with Aiven and ShadowTraffic
Generating artificial datasets that closely resemble real data without compromising sensitive information
In the world of AI and machine learning, access to high-quality, large-scale data is crucial for success. However, real-world datasets are often hard to come by due to concerns around privacy, cost, or regulatory restrictions. Synthetic data provides a practical solution to these challenges by generating artificial datasets that closely resemble real data without compromising sensitive information.
Apache Kafka®, a distributed event streaming platform, is a popular choice for building real-time data pipelines and streaming applications. By using synthetic data, Kafka topics can simulate real-world events, making it possible to test, train, and develop AI models in a more controlled and scalable environment. This approach not only accelerates AI workflows but also helps minimize the risks associated with using actual data.
In this article, we'll walk through how to use ShadowTraffic to simulate traffic to an Apache Kafka topic in Aiven. We'll demonstrate how to stream sensor readings to a Kafka topic, offering a robust and scalable setup.
ShadowTraffic provides a range of generators, functions, and modifiers that help shape the data stream, allowing you to create realistic datasets that closely resemble real-world scenarios. In our example, we'll walk through the steps to do just that.
Step 1. Create Aiven for Apache Kafka service
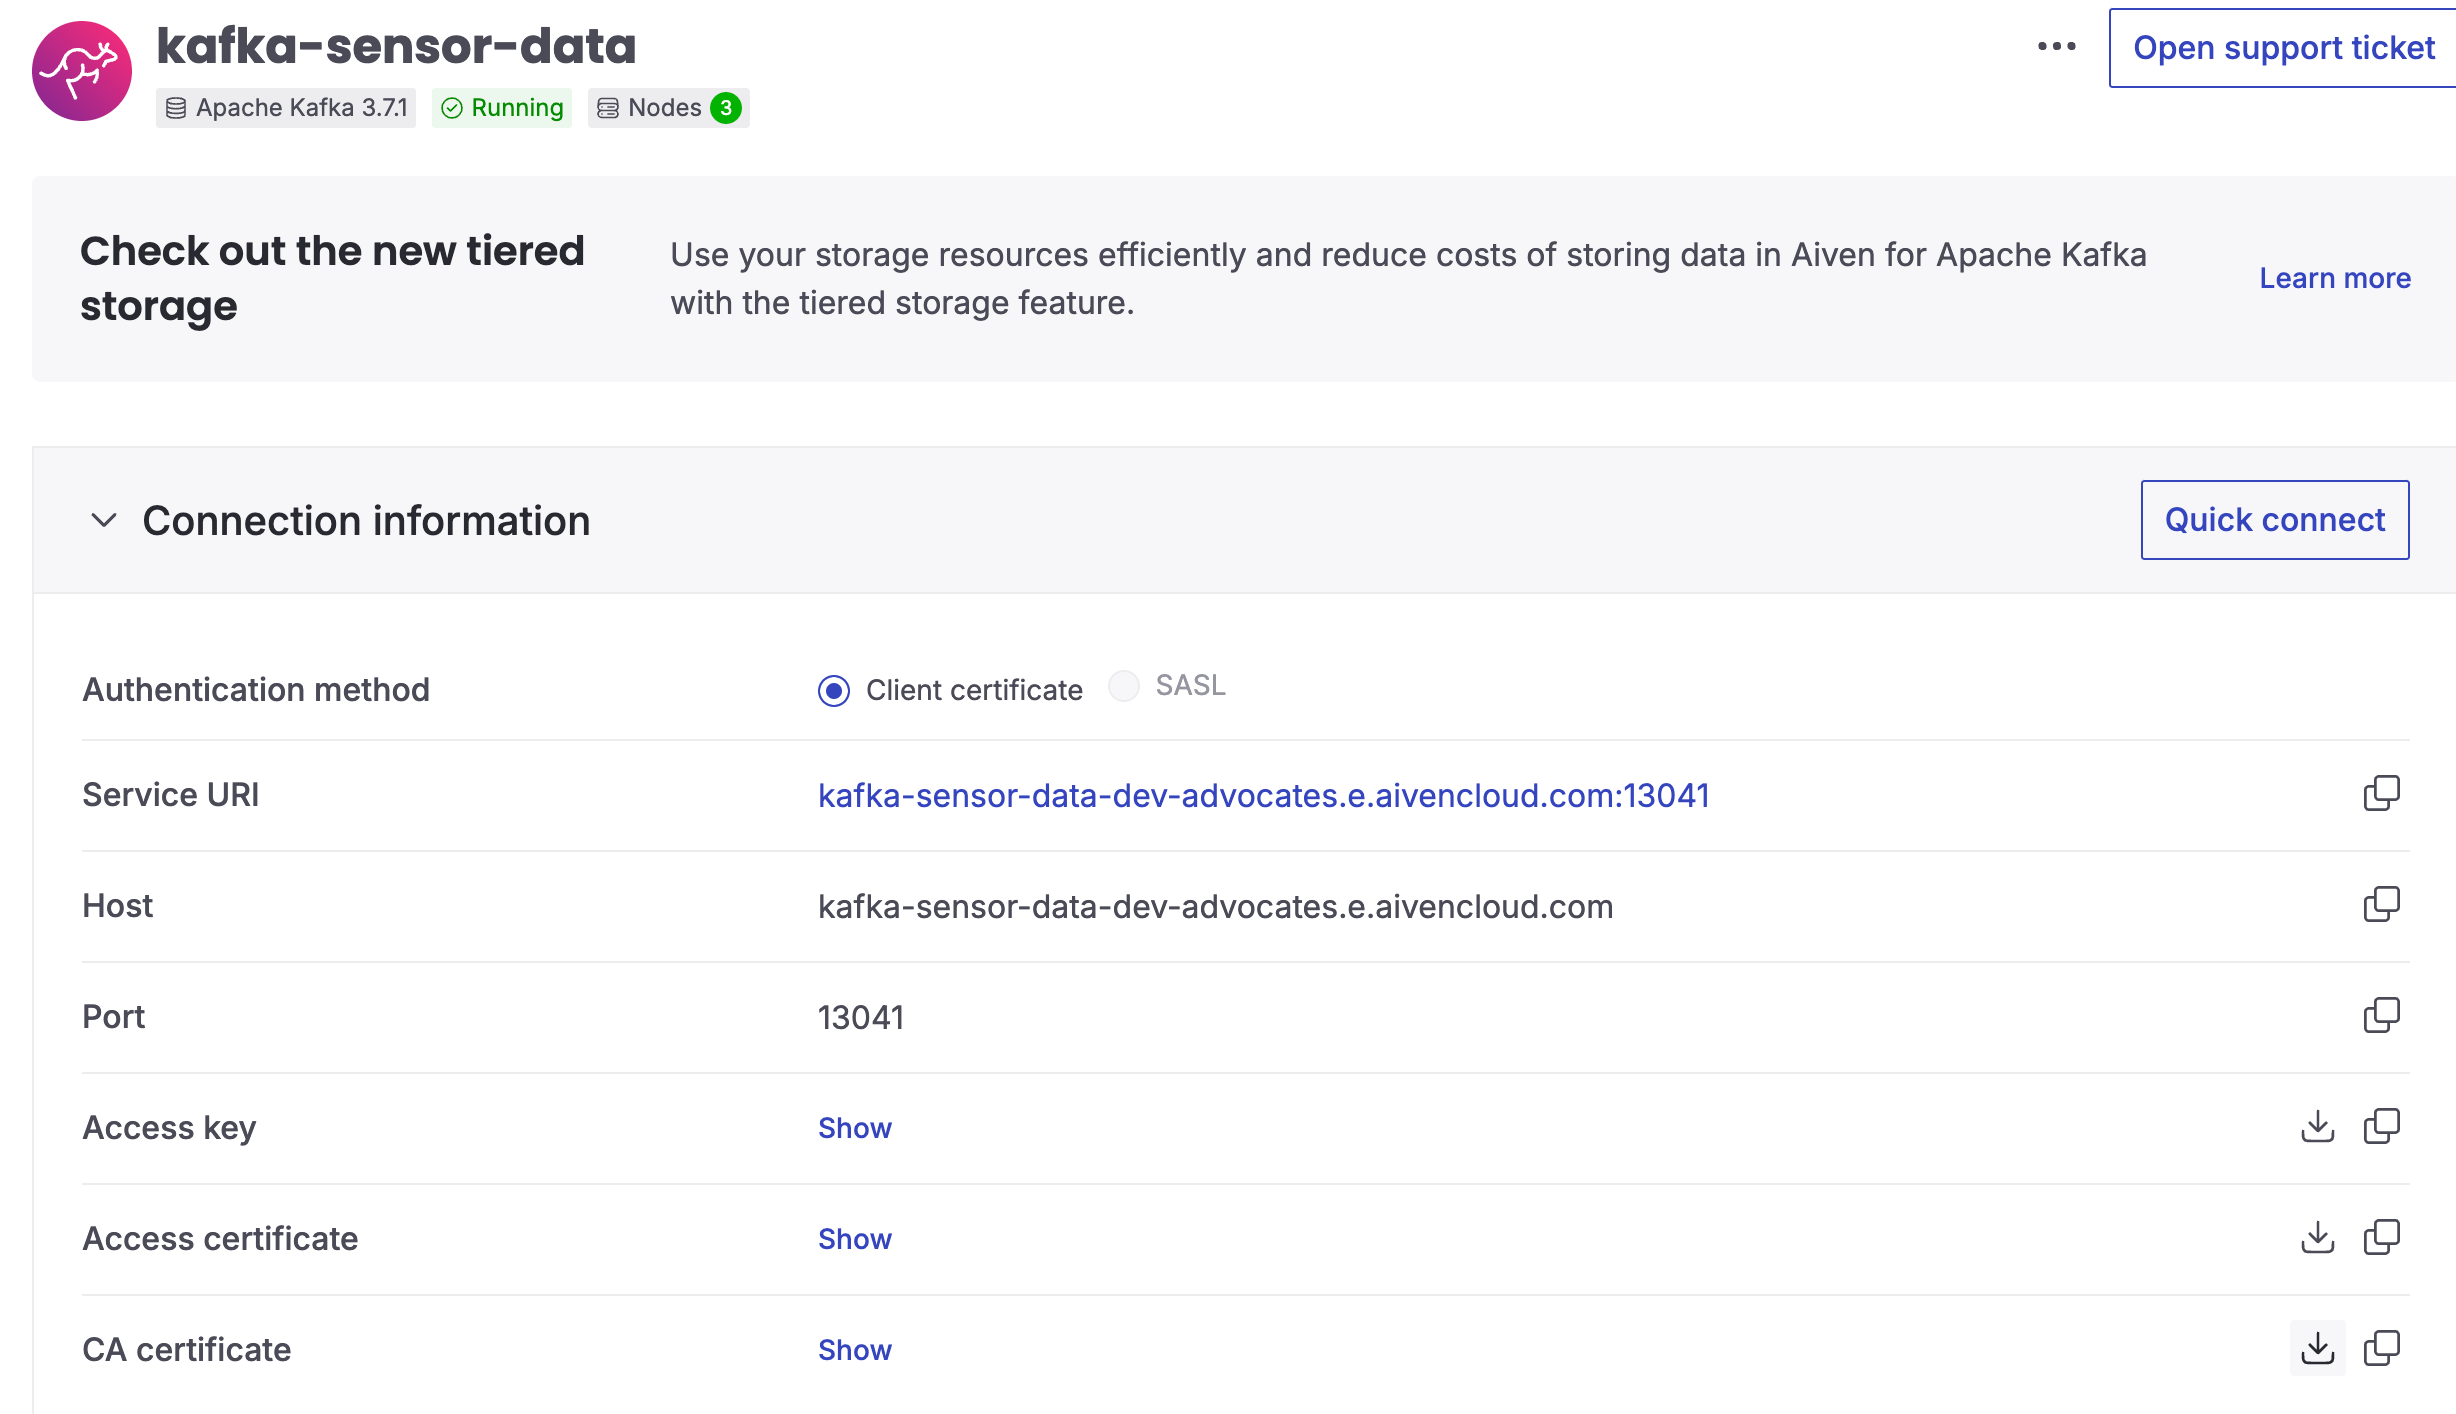
For this tutorial, we'll be using Aiven for Apache Kafka, which you can set up in just a few minutes. If you're new to Aiven, go ahead and create an account — you'll also get free credits to start your trial.
Once you're signed in, create a new Aiven for Apache Kafka service. This will serve as the backbone for our synthetic data stream.
Step 2. Prepare SSL credentials
To enable secure communication between ShadowTraffic and Apache Kafka, we’ll need to configure Java SSL keystore and truststore files. Follow these instructions to generate the required files. By the end of this step, you’ll have the following:
- A truststore file in JKS format:
client.truststore.jks - A truststore password
- A keystore file in PKCS12 format:
client.keystore.p12 - A keystore password
- A key password
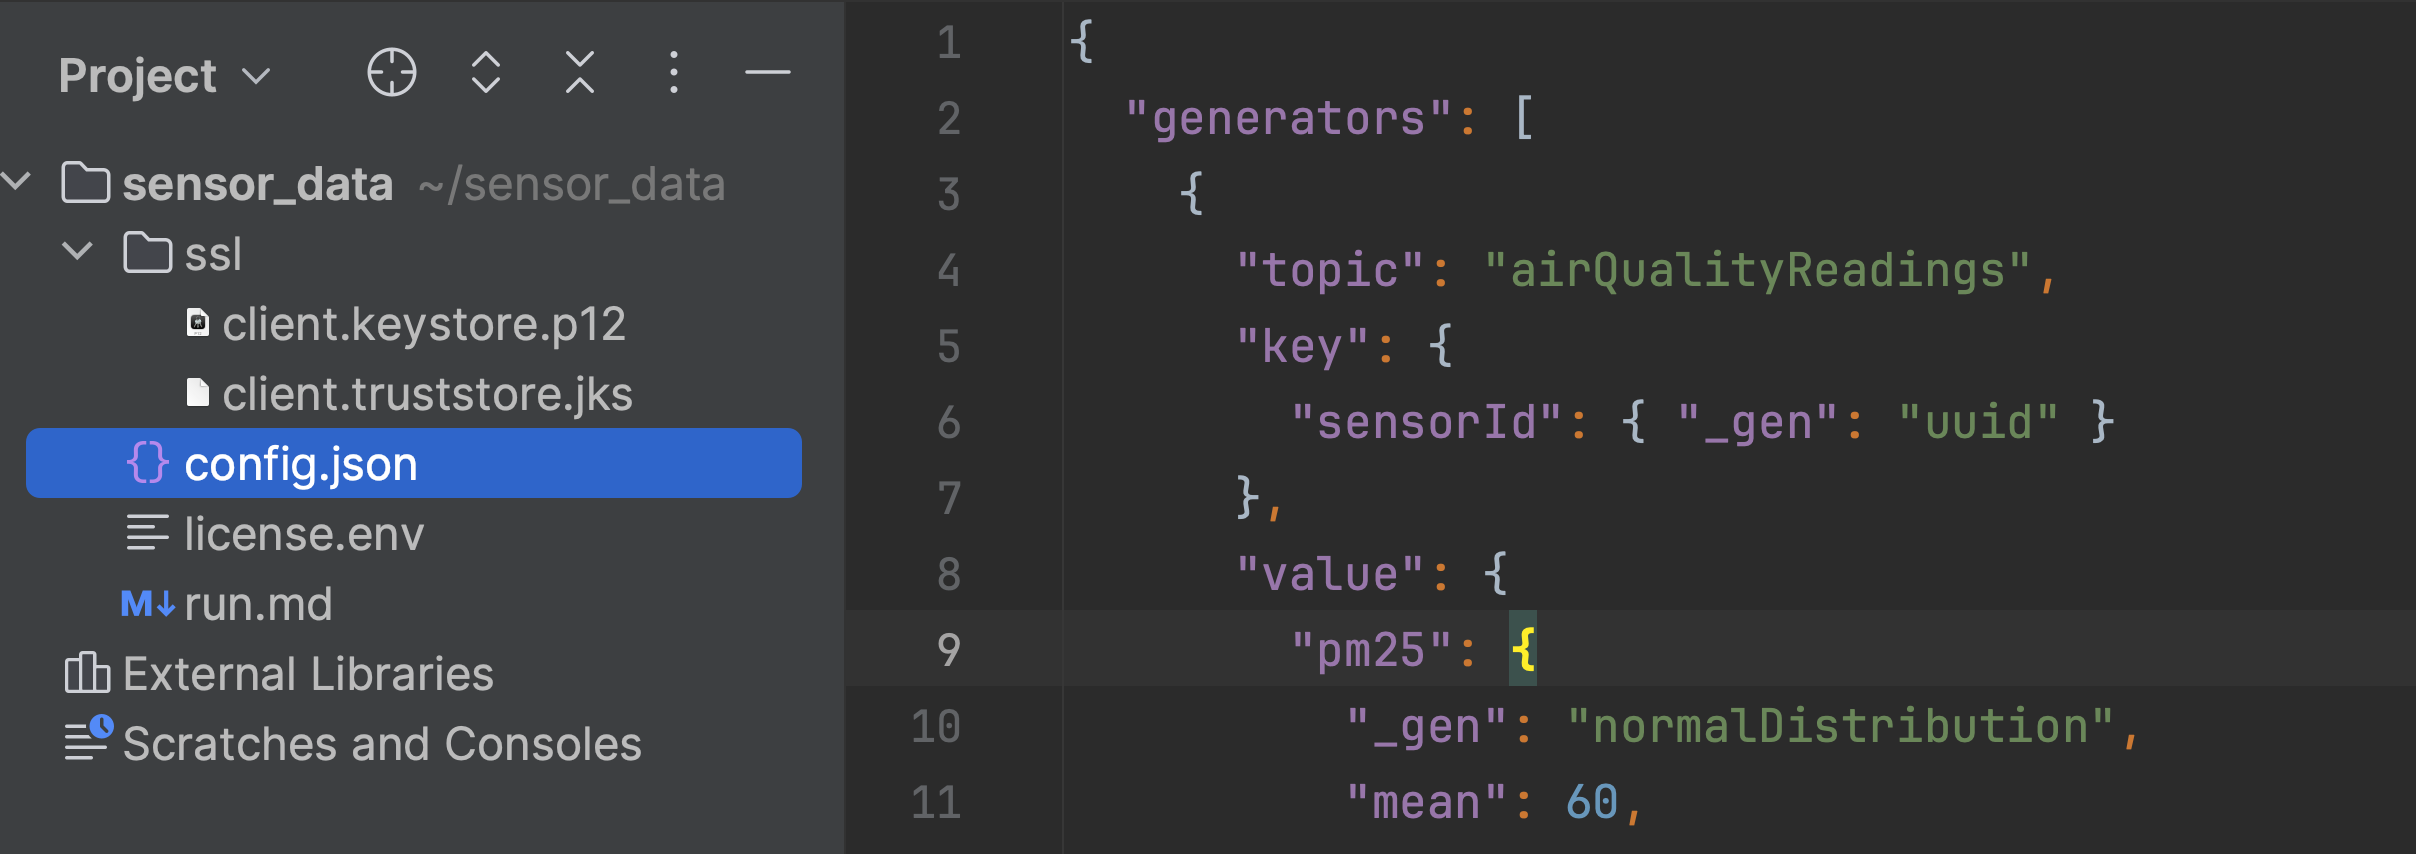
Add the generated files into a folder ssl, we'll need them later when we run ShadowTraffic via Docker.
Step 3. Quick start with ShadowTraffic
ShadowTraffic has excellent documentation that explains how to get started with its APIs. Begin by creating a license.env file (you can use a free trial for this tutorial).
ShadowTraffic relies on Docker. If you're new to Docker ecosystem, follow these steps to set it up. Next, pull the ShadowTraffic docker image by running the following command:
docker pull shadowtraffic/shadowtraffic
Step 4. Create configuration file
Now, let's create a configuration file for ShadowTraffic, which will instruct it on how to generate and stream the data. The configuration file consists of two key sections: connection information and data generation settings.
Connection configuration
To securely transmit data between your Aiven for Apache Kafka service and ShadowTraffic, we’ll need to use the keystore and truststore files you created earlier. Below is an example configuration that incorporates the keystore and truststore details:
{
  "connections": {
    "dev-kafka": {
      "kind": "kafka",
      "producerConfigs": {
        "bootstrap.servers": "YOUR-KAFKRA-URI",
        "ssl.truststore.location": "/ssl/client.truststore.jks",
        "ssl.truststore.type": "JKS",
        "ssl.truststore.password": "YOUR-TRUSTSTORE-PASSWORD",
        "ssl.keystore.location": "/ssl/client.keystore.p12",
        "ssl.key.password": "YOUR-KEY-PASSWORD",
        "ssl.keystore.password": "YOUR-KEYSTORE-PASSWORD",
        "value.serializer": "io.shadowtraffic.kafka.serdes.JsonSerializer",
        "key.serializer": "io.shadowtraffic.kafka.serdes.JsonSerializer",
        "security.protocol": "SSL"
      }
    }
  }
}
Replace YOUR-KAFKRA-URI with the URI to your Apache Kafka cluster and set correct values for YOUR-TRUSTSTORE-PASSWORD, YOUR-KEY-PASSWORD and YOUR-KEYSTORE-PASSWORD.
We'll link the SSL keystore and truststore files to the Docker container later when running the docker run command. For now, you can keep the file locations as the default, but be sure to set the correct passwords for both the keystore and truststore.
Generators
Next, we’ll set up the data generator. Each record generated will use a sensor ID as the key, which will uniquely identify each sensor.
To generate the sensor ID, we’ll use ShadowTraffic's uuid function, which creates random IDs for us:
      "key": {
        "sensorId": { "_gen": "uuid" }
      },
For the value of each record, we’ll simulate a PM2.5 (particulate matter) reading. This can be modeled using a normal (Gaussian) distribution, where most values fall between 55 and 65. The timestamp will be generated dynamically at the time of data creation:
      "value": {
        "pm25": {
          "_gen": "normalDistribution",
          "mean": 60,
          "sd": 5
        },
        "timestamp": { "_gen": "now" }
      },
However, to make the synthetic data stream more realistic, we can adjust the behavior based on the time of day. For this, we'll use an intervals construct that allows us to generate different patterns at different times. When the system’s current time overlaps with a defined Cron schedule, the corresponding data pattern will be used.
Here’s how we can set up a PM2.5 generator that simulates different pollution levels throughout the day:
"pm25": {
          "_gen": "intervals",
          "intervals": [
            [ "0 6-9 * * *", { "_gen": "normalDistribution", "mean": 100, "sd": 15 } ],
            [ "0 10-15 * * *", { "_gen": "normalDistribution", "mean": 60, "sd": 10 } ],
            [ "0 16-19 * * *", { "_gen": "normalDistribution", "mean": 90, "sd": 12 } ],
            [ "0 20-23 * * *", { "_gen": "normalDistribution", "mean": 50, "sd": 8 } ],
            [ "0 0-5 * * *", { "_gen": "normalDistribution", "mean": 40, "sd": 5 } ]
          ],
          "defaultValue": { "_gen": "normalDistribution", "mean": 60, "sd": 5 }
        },
Additionally, we can limit how frequently events are generated by using the throttleMs parameter, which in this case ensures the generator produces an event no more than specified number of milliseconds:
 "throttleMs": {
          "_gen": "intervals",
          "intervals": [
            [ "*/5 * * * *", 50 ],
            [ "*/2 * * * *", 1000 ]
          ],
          "defaultValue": 4000
        }
Altogether, the configuration file looks like this:
{
  "generators": [
    {
      "topic": "airQualityReadings",
      "key": {
        "sensorId": { "_gen": "uuid" }
      },
      "value": {
        "pm25": {
          "_gen": "normalDistribution",
          "mean": 60,
          "sd": 5
        },
        "timestamp": { "_gen": "now" }
      },
      "localConfigs": {
        "pm25": {
          "_gen": "intervals",
          "intervals": [
            [ "0 6-9 * * *", { "_gen": "normalDistribution", "mean": 100, "sd": 15 } ],
            [ "0 10-15 * * *", { "_gen": "normalDistribution", "mean": 60, "sd": 10 } ],
            [ "0 16-19 * * *", { "_gen": "normalDistribution", "mean": 90, "sd": 12 } ],
            [ "0 20-23 * * *", { "_gen": "normalDistribution", "mean": 50, "sd": 8 } ],
            [ "0 0-5 * * *", { "_gen": "normalDistribution", "mean": 40, "sd": 5 } ]
          ],
          "defaultValue": { "_gen": "normalDistribution", "mean": 60, "sd": 5 }
        },
        "throttleMs": {
          "_gen": "intervals",
          "intervals": [
            [ "*/5 * * * *", 50 ],
            [ "*/2 * * * *", 1000 ]
          ],
          "defaultValue": 4000
        }
      }
    }
  ],
  "connections": {
    "dev-kafka": {
      "kind": "kafka",
      "producerConfigs": {
        "bootstrap.servers": "YOUR-KAFKRA-URI",
        "ssl.truststore.location": "/ssl/client.truststore.jks",
        "ssl.truststore.type": "JKS",
        "ssl.truststore.password": "YOUR-TRUSTSTORE-PASSWORD",
        "ssl.keystore.location": "/ssl/client.keystore.p12",
        "ssl.key.password": "YOUR-KEY-PASSWORD",
        "ssl.keystore.password": "YOUR-KEYSTORE-PASSWORD",
        "value.serializer": "io.shadowtraffic.kafka.serdes.JsonSerializer",
        "key.serializer": "io.shadowtraffic.kafka.serdes.JsonSerializer",
        "security.protocol": "SSL"
      }
    }
  }
}
Here is the structure of the files we've created so far:
Step 5. Run ShadowTraffic generator
Now it's time to run ShadowTraffic. From the folder where you’ve saved your files, run the following command:
docker run --env-file license.env \
-v $(pwd)/ssl:/ssl \
-v $(pwd)/config.json:/home/config.json \
shadowtraffic/shadowtraffic:latest \
--config /home/config.json
This command mounts your SSL files and configuration into the Docker container and starts ShadowTraffic.
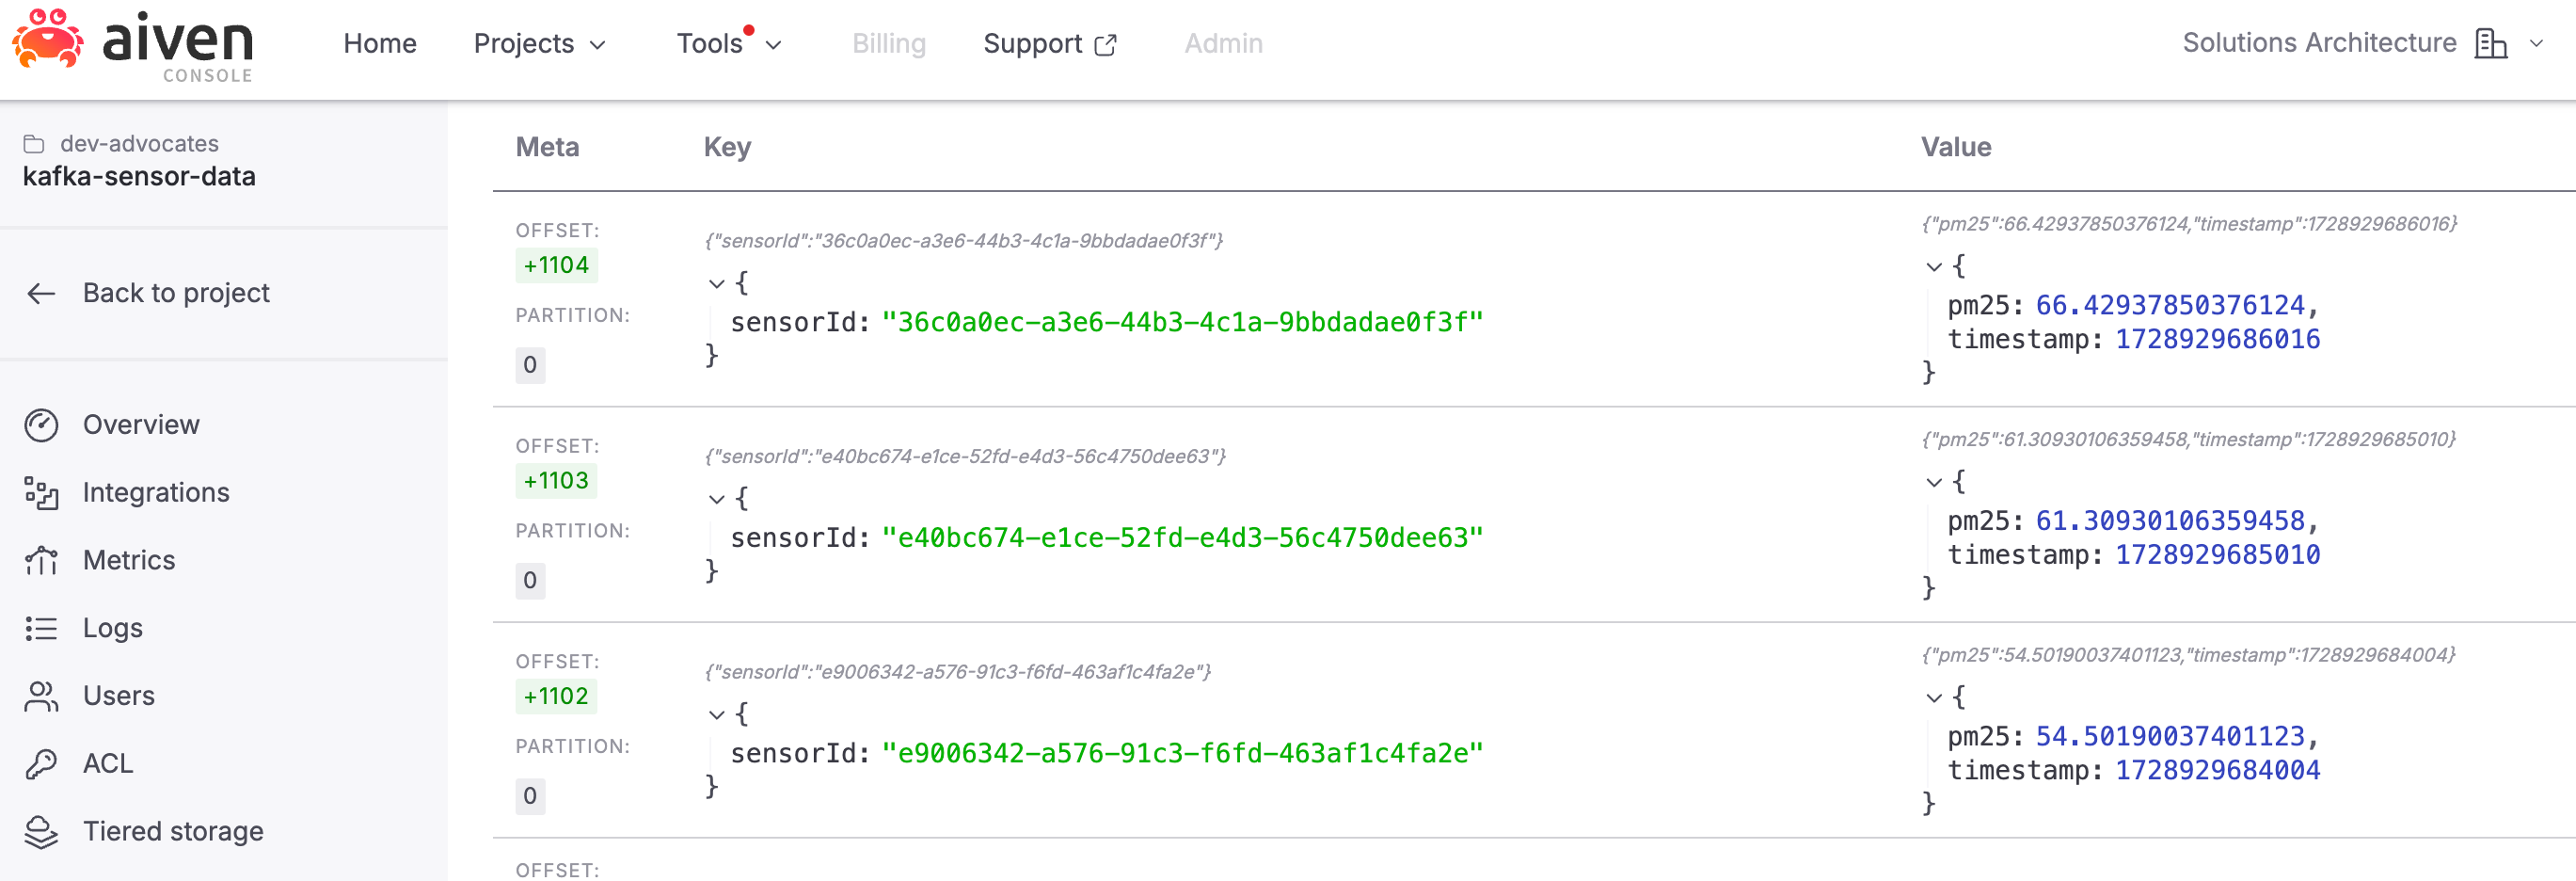
Now you can go back to your Apache Kafka topic to see the stream of data as it flows through — this is where your synthetic sensor readings come to life!
Conclusions and next steps
In this tutorial, we've demonstrated how to use ShadowTraffic to generate synthetic data and stream it to an Aiven for Apache Kafka service. By simulating real-world data with configurable generators, you can test and develop AI models without relying on sensitive or costly datasets.
Next, you can further explore ShadowTraffic’s advanced features and their usage with Aiven for Apache Kafka to incorporate this synthetic data into machine learning workflows.
Learn more what you can do with Aiven and AI:
- Building a real-time AI pipeline for data analysis with Apache Flink® and OpenAI
- Applying RAG pattern to navigate your knowledge store
- When text meets image: a guide to OpenSearch® for multimodal search
- Find your perfect movie with ClickHouse®, vector search, Hugging Face API, and Next.js
- TensorFlow, PostgreSQL®, PGVector & Next.js: building a movie recommender
- Developing memory-rich AI systems with Valkey™, OpenSearch® and RAG


